 |
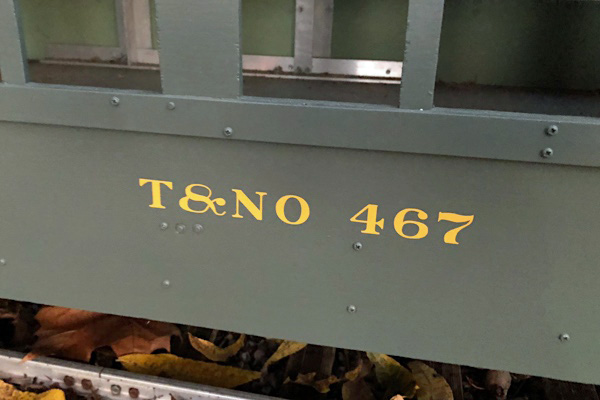
Louisiana, Texas & Pacific Railroad Texas & New Orleans #467 |
Nov 2018 / RWH
Jun 2014

egun in December of 2013, Texas & New Orleans #467 will be the longest car on the LT&P outdoor railroad. This car uses Real Trains passenger car trucks and bolsters. I simply could not find trucks that match the prototype more closely. The car also has Real Trains coupler pockets and MCC couplers and an aluminum frame. I plan to build the rest, with a few PSC grab irons and brake detail parts.
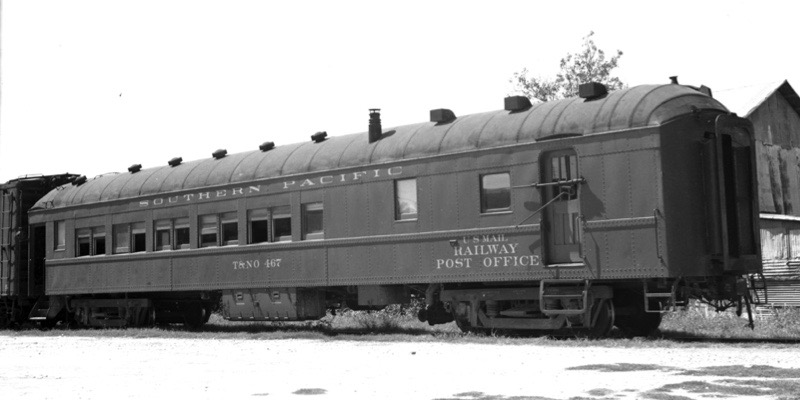
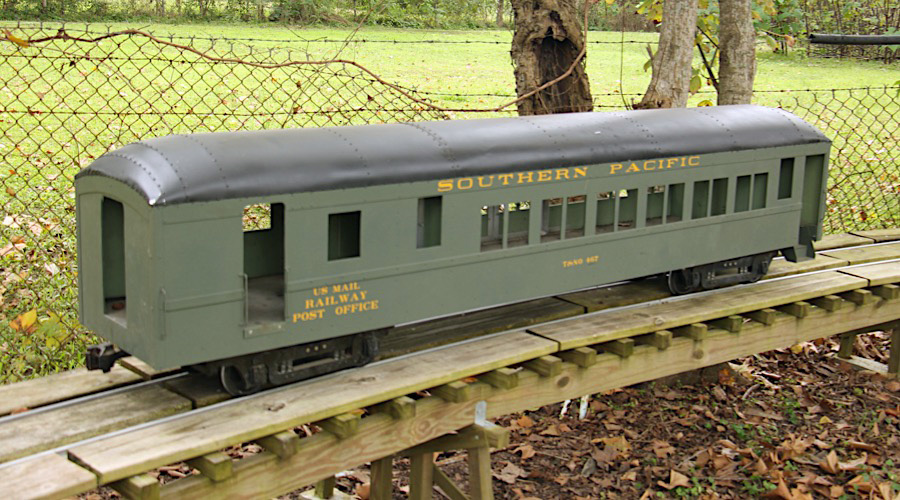
Texas & New Orleans (Southern Pacific) #467
combine / F. Dale Morris photo / Joe Dale Morris collection
combine plans / Gordon Payne
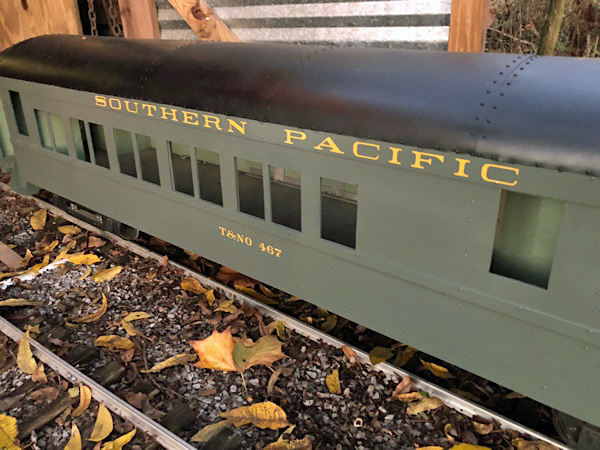
Southern Pacific #467
Dec 2017 / RWH
Dec 2017 / RWH
Dec 2017 / RWH
Dec 2017 / RWH
Dec 2017 / RWH
Construction
Jan 2014

Jan 2014
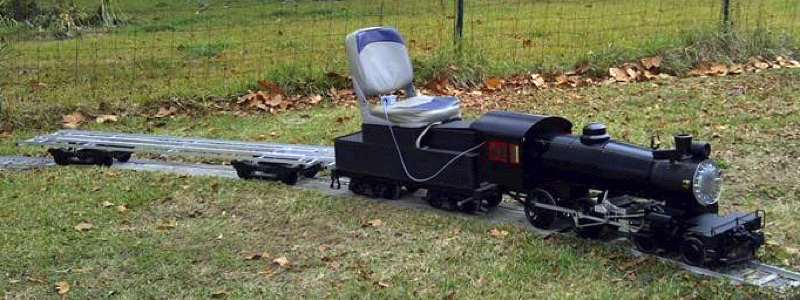
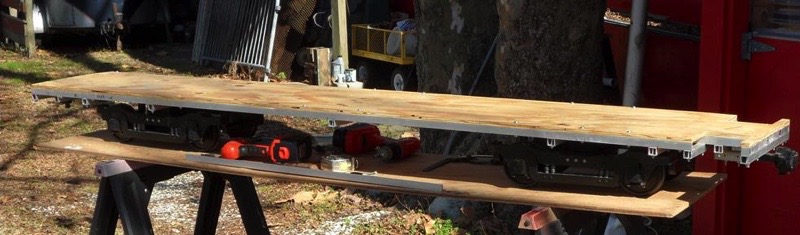
I tested the revised coupler mounting with SP 260, the loco I expect to use most with this car. It worked flawlessly on both right- and left-hand 25-foot radius curves, in forward and reverse. The top above shows the frame on a 25-foot curve with the SP steamer; the photo at left is a close-up shot of the coupler swing looking straight down. Even on the tight curve, the couplers had some play; in other words, they did not bind. I was worried that the Cannonball coupler on the tender might bind with the smaller MCC coupler on the car, but they did fine. Saturday, I cut and installed the ½" plywood floor. Yesterday, I laid out the car sides and marked them for the window and door openings. Lots of work is left, but the car is coming along.
Jan 2014
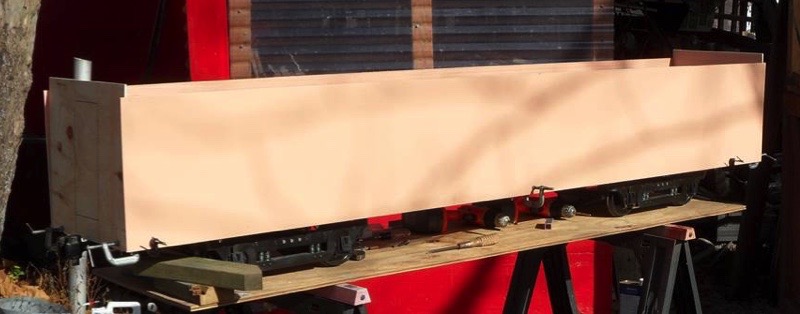
Next I cut and sealed the 1/2” plywood floor (above). It is attached to the frame with 10-24 screws. I used Real Trains passenger trucks with 36" scale wheels. By that evening, I had cut the sides and ends from 1/4” plywood. I was test fitting the parts (below) to be sure they align properly. The car is 90 inches long from corner to corner.
Jan 2014
Jan 2014
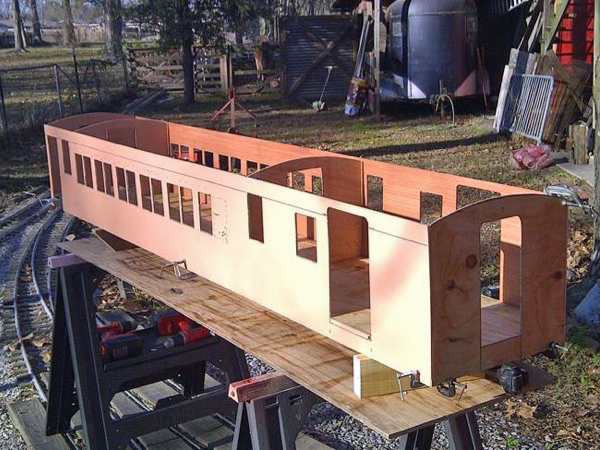
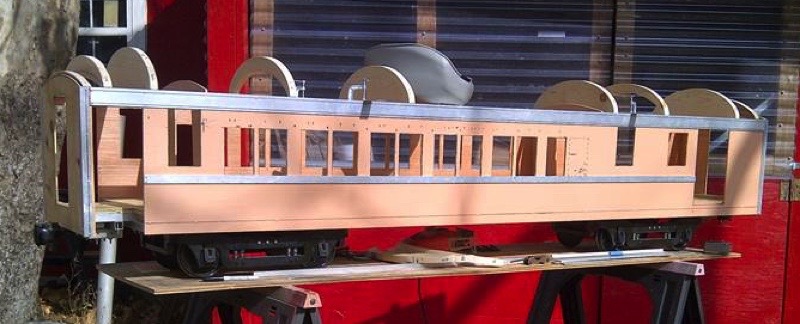
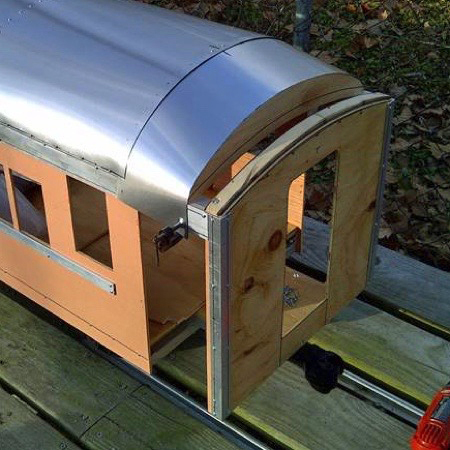
The windows required an entire Saturday of cutting, trimming and sealing. The window pattern is slightly different for each side. You can see a dotted outline for one window on this side: this window is cut out on the other side. I used 1/16 x 3/4" angle stock for the corners to make them strong. The top piece is 1/16 x 1 1/2" stock, with a stiffener of 1/8 x 3/4" angle running the length of the side on the top inside edge. The stiffener in the middle of the car is 1/8 x 1/4" stock. It actually should extend from the baggage door to the front of the car…I just have not cut and mounted the small piece yet. All the trim metal is aluminum, installed with 2-56 steel screws and nuts. The arch roof will be much taller than the ends indicate. My plan is to make a 4-foot removable section of roof so I can put in a seat when visitors are riding. I have all kinds of grabs and steps and walls and such to add, but it is looking like a passenger car!
Jan 2014
Jan 2014
Jan 2014
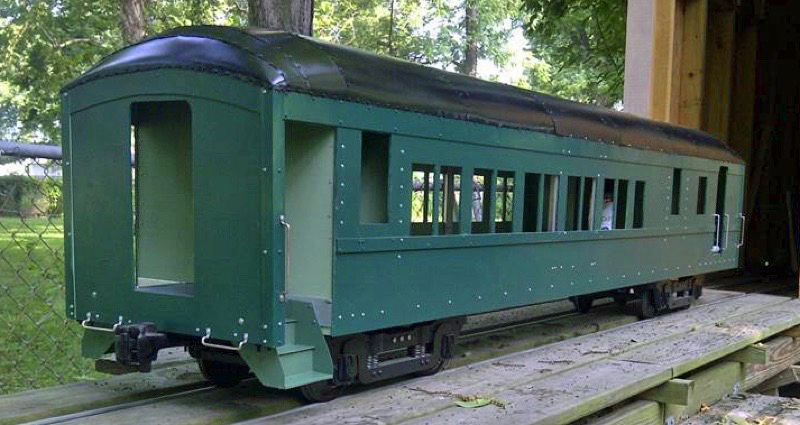
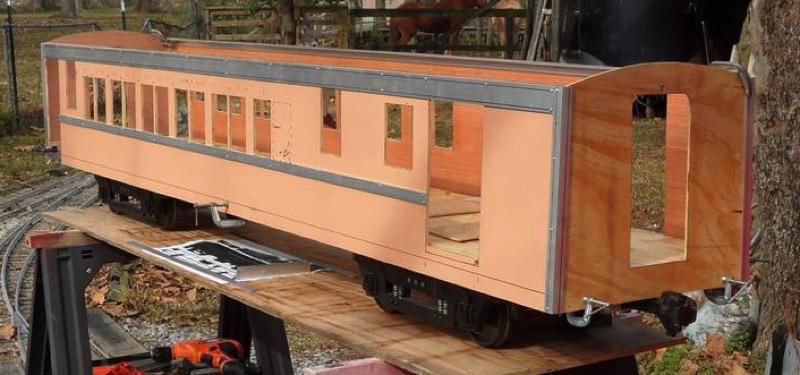
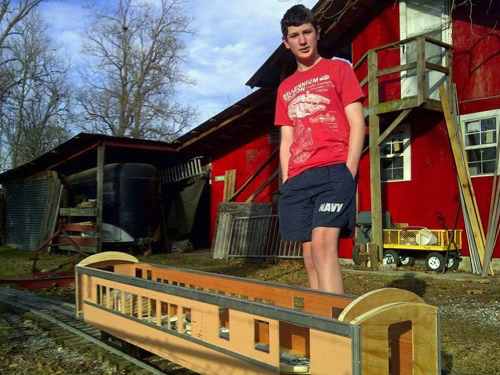
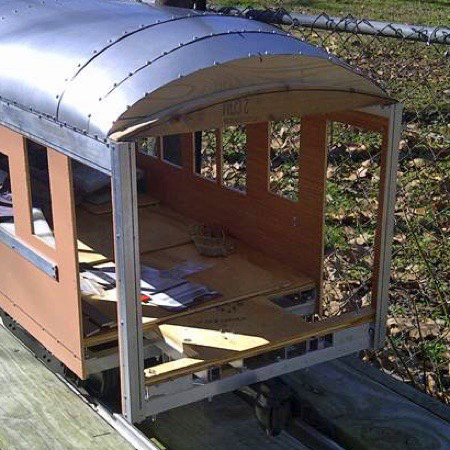
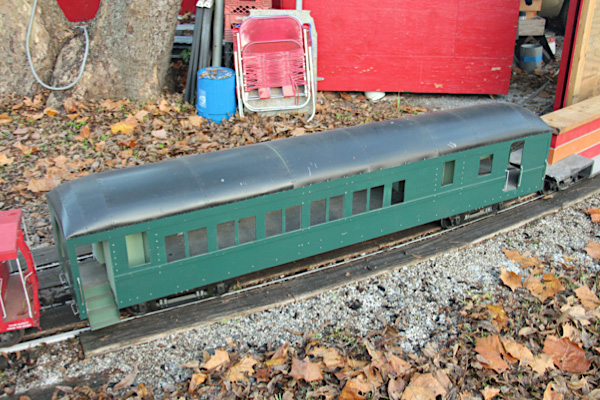
I was able to attach the sides and ends of TNO 467 to the frame, and cut the roof ribs (above). Of course, that made the car heavy and so I placed it on its trucks and stored the car in its planned home under the shed of the barn (I had installed an 8-foot-long spur just for this purpose). The sides and ends are attached (below) with 2-56 screws every eight inches. I plan to add many more screws before I try to put a person in it. The roof ribs are set in place (but not attached), and I placed a seat on the car to see how it fits. My plan is to have a removable roof section about three feet long so one person can ride, although I may build a seat that stays in place even when the roof is on the car. The closer track is the main line that cuts across the corner of the barn; the second track is the spur that goes into the barn about eight feet (this is where the car is now stored). My son James is pictured with the car (left).
Jan 2014
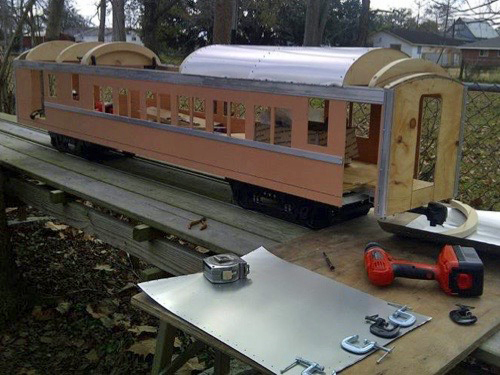
Next I cut out and drilled one panel to get the fit right (below), then used that panel as a guide to cut and drill five more panels. Eventually, I plan to add more panels to more closely simulate the number of panels on the prototype, as well as help strengthen the roof. The aluminum flashing I used is very thin, but easy to work. In time, I may replace the panels as needed with thicker material. The center section of the roof will be removable, with a seat built into the car for a rider. This car is made to be used behind SP 260, which is not very powerful. It has proven it can pull itself with an engineer, plus one car with one rider, up the grade to the trestle, without slipping. This will represent the SP's Gonzales-Harwood, TX local. One loco, one car! Perfect!
Feb 2014

Feb 2014
Feb 2014
Feb 2014
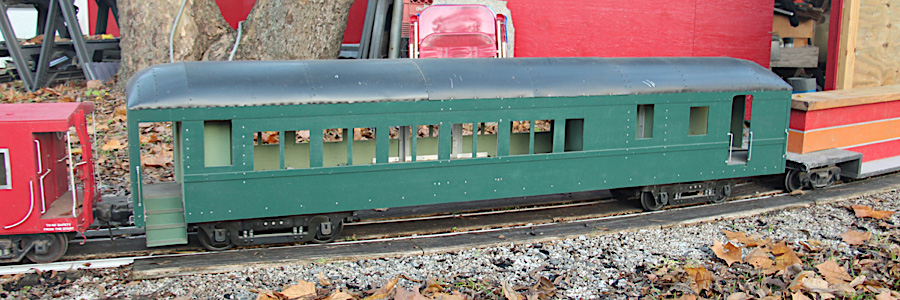
This is how I set up the roof ribs for the ends as of February 9 (above, left). It includes one transition rib between the regular roof rib and the end of the car. The more I looked at the photos of the real car, the more my set up looked incorrect. Therefore, I moved the transition rib I had made 3/4" closer to the first regular rib (in other words, towards the middle the car). I then made a second transition rib, which I bumped right up to the rib/brace at the end of the car. This looks much closer to the prototype – you can see two of the three transition roof panels in next photo (above, right). Unfortunately, the third roof panel at the end of the car is so complex, that in about five hours of work over two days, I was only able to get the basic shape cut out, but not completely installed. I had two panels that just did not work. The good news is that the two new transition ribs (one for each end) are nearly identical in their shape, so once I get one good roof panel, I should be able to copy it. In the photo above (right), I had removed the car's end plywood panel because I needed to fit a trim piece to its top part - taking it out let me trace the shape more easily. Here, I guess it looks like a funky theatre car! The end is back in place now, and the end roof panel is ready to be installed; I hope to get it done next weekend, weather permitting.
Painting
Apr 2014
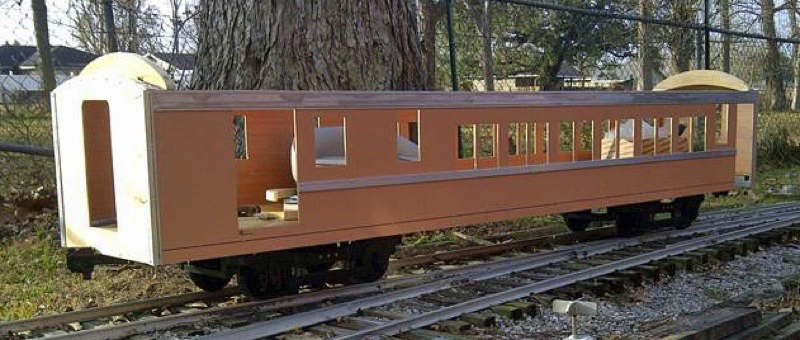
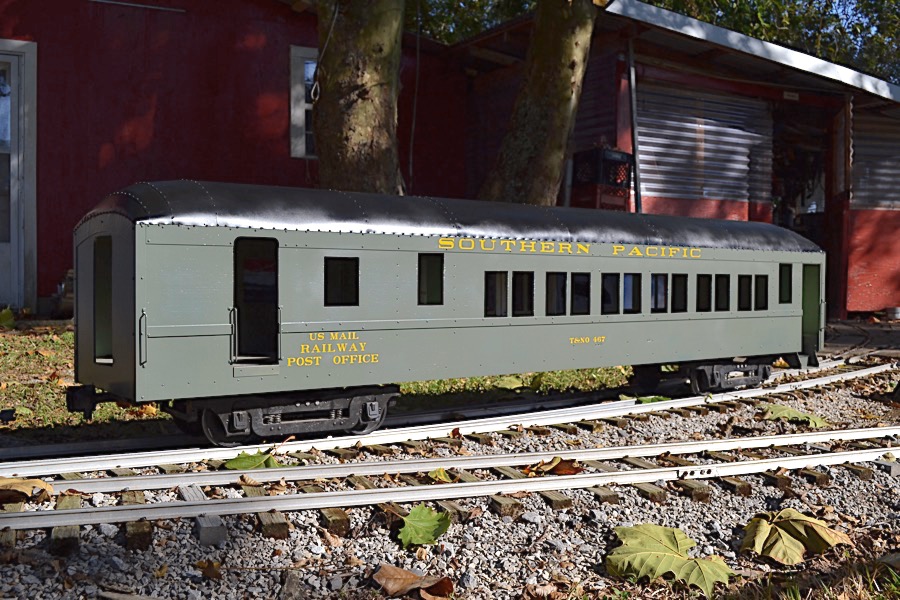
I spent about half a day painting and re-installing the end panels of the TNO 467's roof (left). This is undoubtedly the most difficult bit of metal-working I have ever done. When I put the ribs in place, I used Locktite on the screws; I also used Locktite on many of the side and end panel screws; I don't want these panels getting loose!
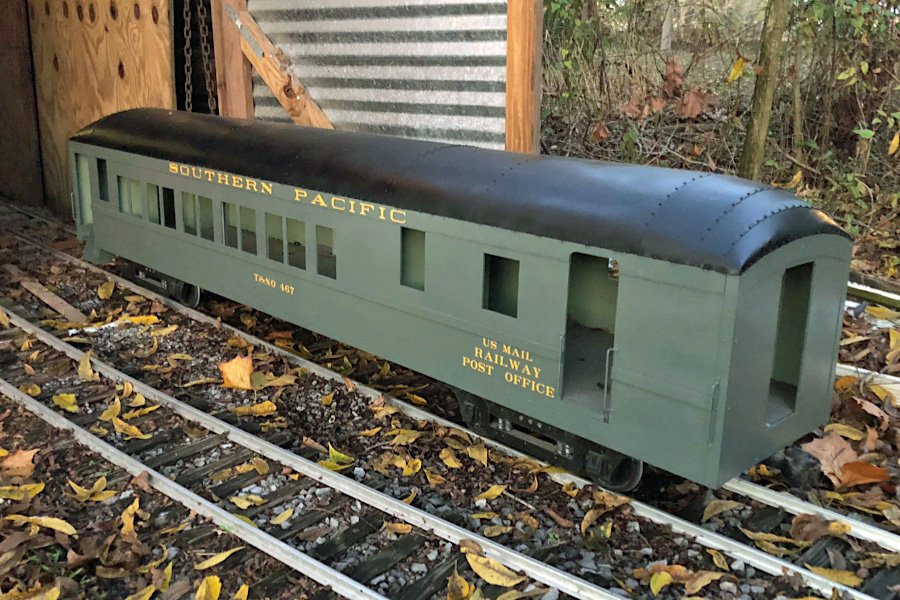
Of course, I ran out of paint, so that's one job to be completed later. My thinking is that I will not model the car's seats. I do have working bathroom doors and walls in place, and I may add fixtures later. I may also add the baggage compartment work surfaces and cabinets. I will certainly add steps and grab irons and brake parts (all these are on hand).
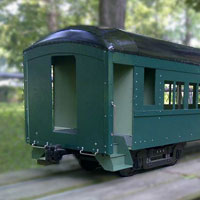
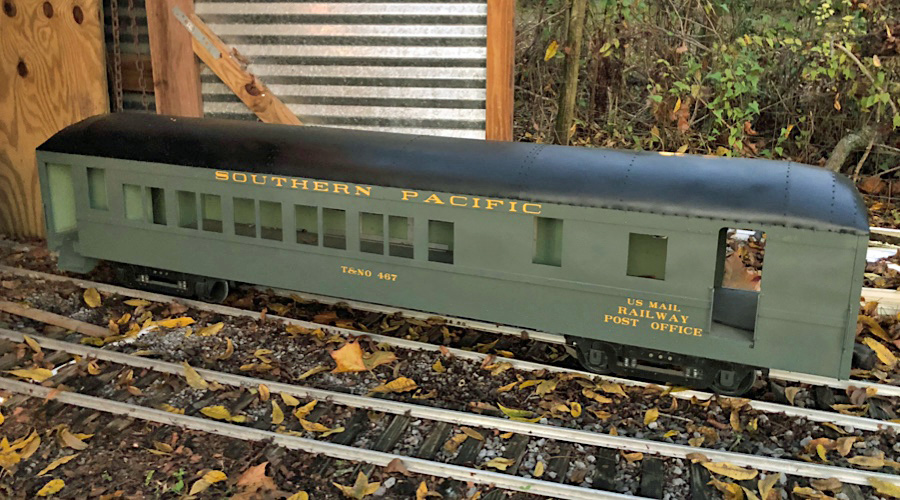
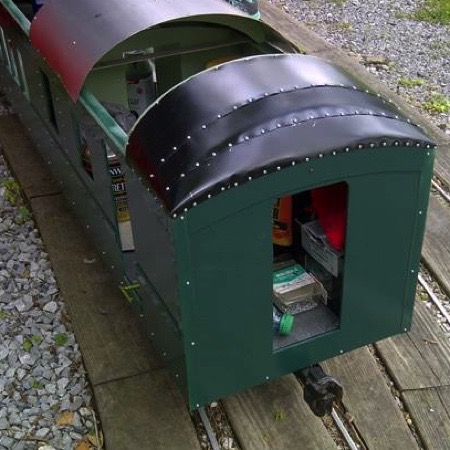
Next I painted the combine's roof (below). The center section is removable so a person can sit in the seat. The center section was painted several weeks ago and has “weathered.”
May 2014
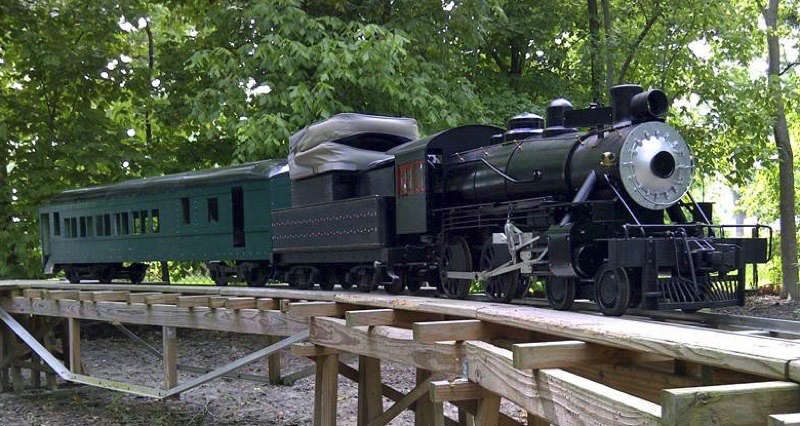
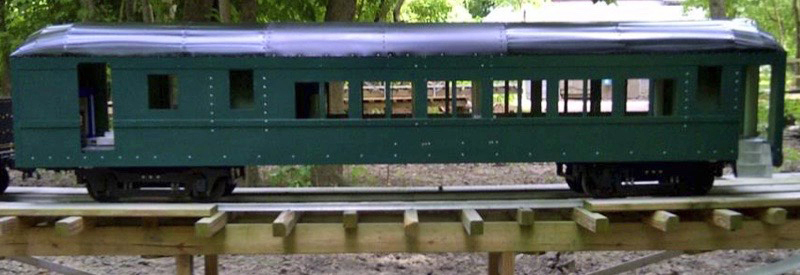
The Perfect Little Train
May 2014
Dec 2016 / RWH
Dec 2016 / RWH

Nov 2017
Nov 2017
Links / Sources
- Wikipedia article for Texas & New Orleans Railroad
- Texas State Historical Association entry for Texas & New Orleans Railroad